Leaderboard
-

Macsusc
Moderators5Points1434Posts -
Joan Perkins
Members5Points3Posts -

Cat_Dad8311
Members3Points190Posts -
mikahelll1
Members3Points7722Posts


.thumb.png.0869e15de5ec5d4fbd7cbef715ab6b92.png)

Popular Content
Showing content with the highest reputation since 10/14/25 in Posts
-
Hello, I'm building my first pc and I was choosing which species match and work together. I already have chosen but i don't know if they work good together. CORSAIR VENGEANCE RGB DDR5 RAM 32GB (2x16GB) Up to 6000MHz ASUS ROG Loki SFX-L 850W Platinum White Edition Samsung 9100 PRO 2TB ARCTIC P12 Pro A-RGB ASUS ROG RYUO IV 360 ARGB White - All-in-One CPU Liquid Cooler ASUS ROG Strix X870E-A Gaming WIFI7 Neo ASUS ROG Astral GeForce RTX 5080 16GB GDDR7 White AMD RYZEN 7 9850X3D H1 ATX PC Case Those are the species that I've picked but I don't know if they all match together.2 points
-
Hello, just wanted to update that I received the fixed GPU a few days ago and everything has been working fine. Thank you so much for your help figuring this out!2 points
-
1 point
-
I will PM you soon to organise it!1 point
-
yes sure i would take one1 point
-
1 point
-
1 point
-
1 point
-
Is the Lian Li O11 Vision Compact midi tower behuizing suitable?1 point
-
Yeah those parts all match together well, that’s a really solid high-end build. The only thing I’d double check is GPU and radiator clearance in the case since the RTX 5080 Astral is huge, but otherwise you should be good. congrats on a new PC!1 point
-
1 point
-
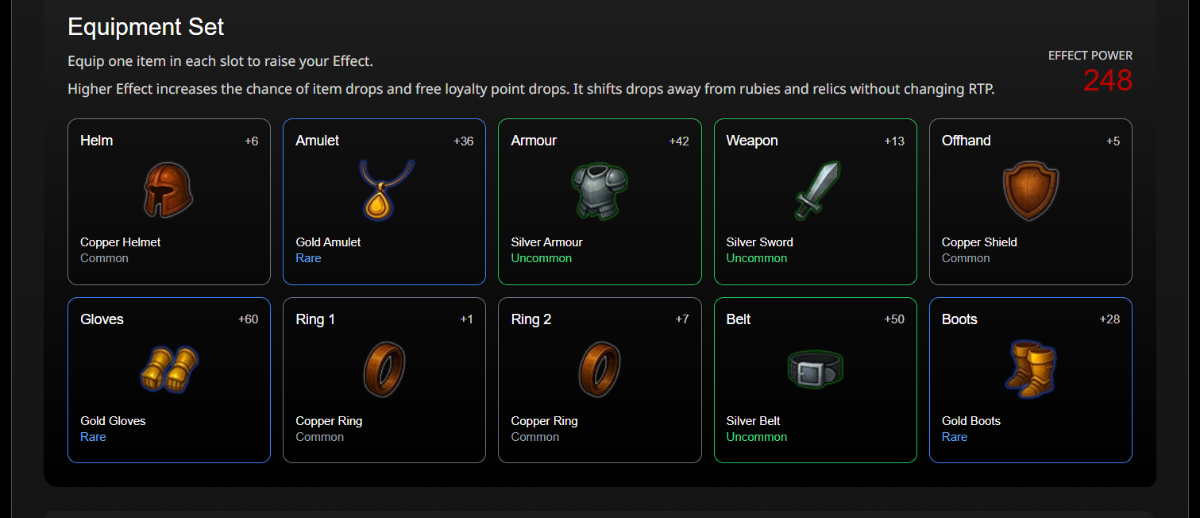
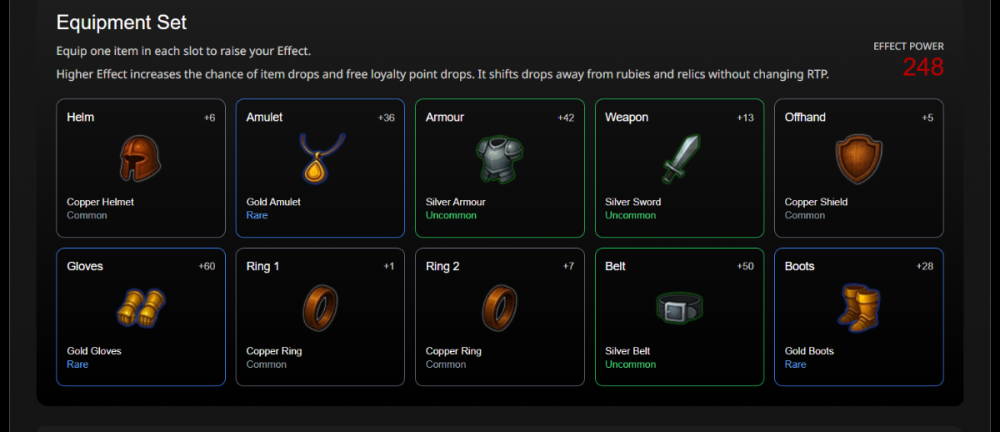
First of all, hello everyone! Some of you already know me—after all, I am the great mikahelll. As a club member, I get 150 cTokens monthly, on top of participating in our Saturday Carnival. I’m here to share my experience with the overlay that Lord TCM is developing. Let’s start with the fact that I hate waste; there’s no point in paying a monthly fee and letting one of the benefits you receive, the cTokens, sit there rotting. I already had an incentive to use them, so I decided to help out by testing the system, bug hunting, and so on. I used a total of 2,000 cTokens ($20 USD)—all of which were earned through the Carnival, by the way, so make sure to participate! Those 2,000 cTokens generated approximately $65 USD for me. $23 in gear that I sold and withdrew via PayPal, $21 in gear currently in use, and the rest split between rubies (which were converted into more cTokens) and relics. The system is extremely easy to use. I’ve been using it in Dark Souls and it works great: you assign a button combination for the "bam," and the corpse scan begins. I did some testing and, in the current version, I believe the best approach is to set the cToken amount per body to the minimum. There’s no concrete evidence yet that the loot scales proportionally with the amount spent (from 20 cTokens per body to 40, for example). There is literally no reason not to use it! The biggest limitation is Overwolf itself, as it only works on supported games. Again, there’s no reason not to use it. Here is a photo of my current inventory.
 1 point
 -
Dude thank you so much for this! It feels great to see someone enjoying it, I have a lot of fun developing this particular software, if anyone has any ideas and enhancements, let me know!1 point
-
The system feeds itself! The more i use it, the better becomes my gear and better gear increases the chance of getting gear!1 point
-
1 pointI would suggest a bounty for the first person to get lvl 255 (ilvl recommended for Raids Heroics) and another one to the first person to get ilvl 275 (recommended for Raid Mythic)1 point
-
1 pointWell thank you for an amazing build and I mean you all have gone above and beyond and it means alot especially right now!! 20260312_181141.mp41 point
-
1 pointI 100% agree with @Macsuscassumptions. Those are the exact steps I would undertake to try to rectify this issue. @Cat_Dad8311Honestly mate, there's no need to worry. Nothing on a PC can't be repaired or replaced. Sometimes it takes a few steps to ascertain the exact issue, but we will figure it out and get this PC going for you.1 point
-
1 point
-
1 pointHi everyone, I’d love to take on the role of PvP God. Always keen for PvP, whether that’s pushing Gladiator or running casual 3s for fun. https://check-pvp.fr/us/Frostmourne/Thenariouss1 point
-
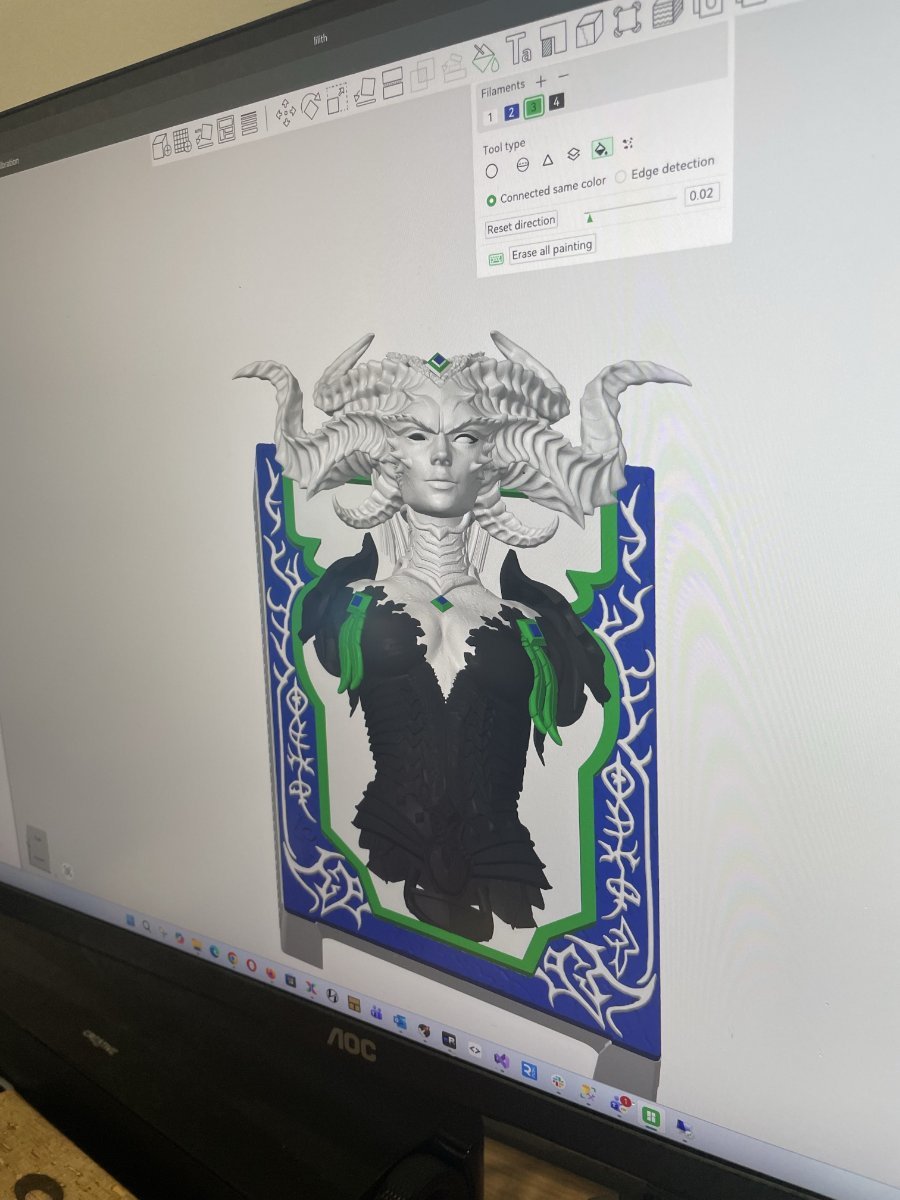
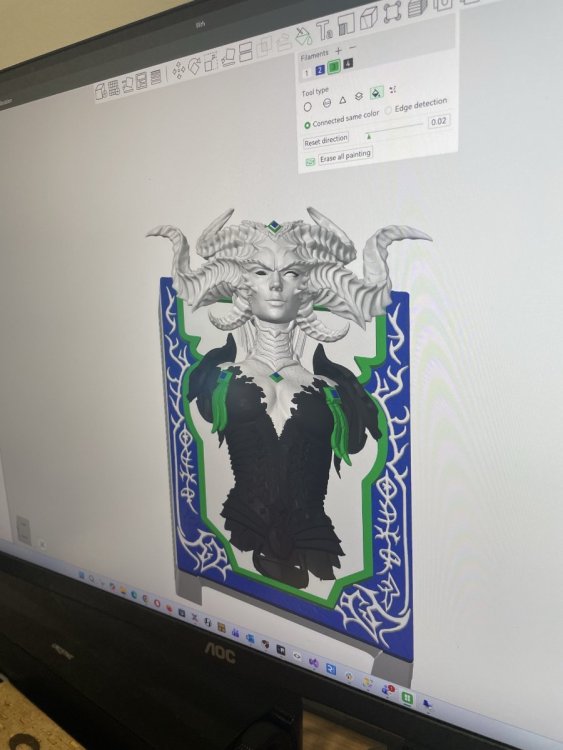
1 pointWe started by generating hundreds of AI concepts until we found one we liked which we posted onto YouTube to see how many likes it gets compared to the others, this one got the most likes so we decided it's the one we will build. We modelled the Front Panel. Video (1) (4).mp4 We were planning to buy and use a full colour Mimaki printer https://www.mimakiaus.com.au/product/3d/ which can create amazing things, we were super excited for this printer but after talking to their representatives we under stood it wasn't for us, especially for the cost associated with it. The material is far too brittle to be used as a computer panel, the build space is TINY for the price of the machine, we would have to create the panel in pieces. We want a sturdy computer that can keep intact through international delivery as we send out these computers to people world wide. We decided to buy a Carvera https://global.makera.com/products/carvera?srsltid=AfmBOorH9Q1QYMJKkXAmdKOTgXwbC2OylMzNeinObBJrBArEahD1EFpt so we can create sturdy panels out of alloy, copper, wood and other materials along with a 4 colour 3D printer, H2d bamboo labs https://au.store.bambulab.com/products/h2d?id=580955377904132100&skr=yes&srsltid=AfmBOopXgHsY4fQmGK5FBrsVAD7GdTn5Rm_zAFEOUVlCNGPzlgYKopZTz8A to add to our 3D printer stack. We're now conducting test prints and colouring some parts of the panel with the 4 colour printer as a base, we will hand paint the panel afterwards and make sure the red window behind her is see through to show lights. We will continue to drop updates on this blog post as comments, let us know what you think!
 1 point
 -
0 pointsIm down for anything dungeon/M+ related. Unfortunately, the "Raz Boss" was defeated many years ago and hasn't been seen raiding since. lol0 points